
Being a blogger you are constantly picking up tips. You become a sort of magpie searching out new shiny ideas to try, and along the way you also develop your own way of doing things. Though I profess to be no expert, in the spirit of sharing tips I thought I would share with you guys how I take my flat lay pictures. Let me know if you enjoy this post and if you have anything else you would like me to cover. Like I said, I am always picking up tips and learning, so if you have any ways you take flat lay pics that isn't here then let me know. Sharing's caring peeps.
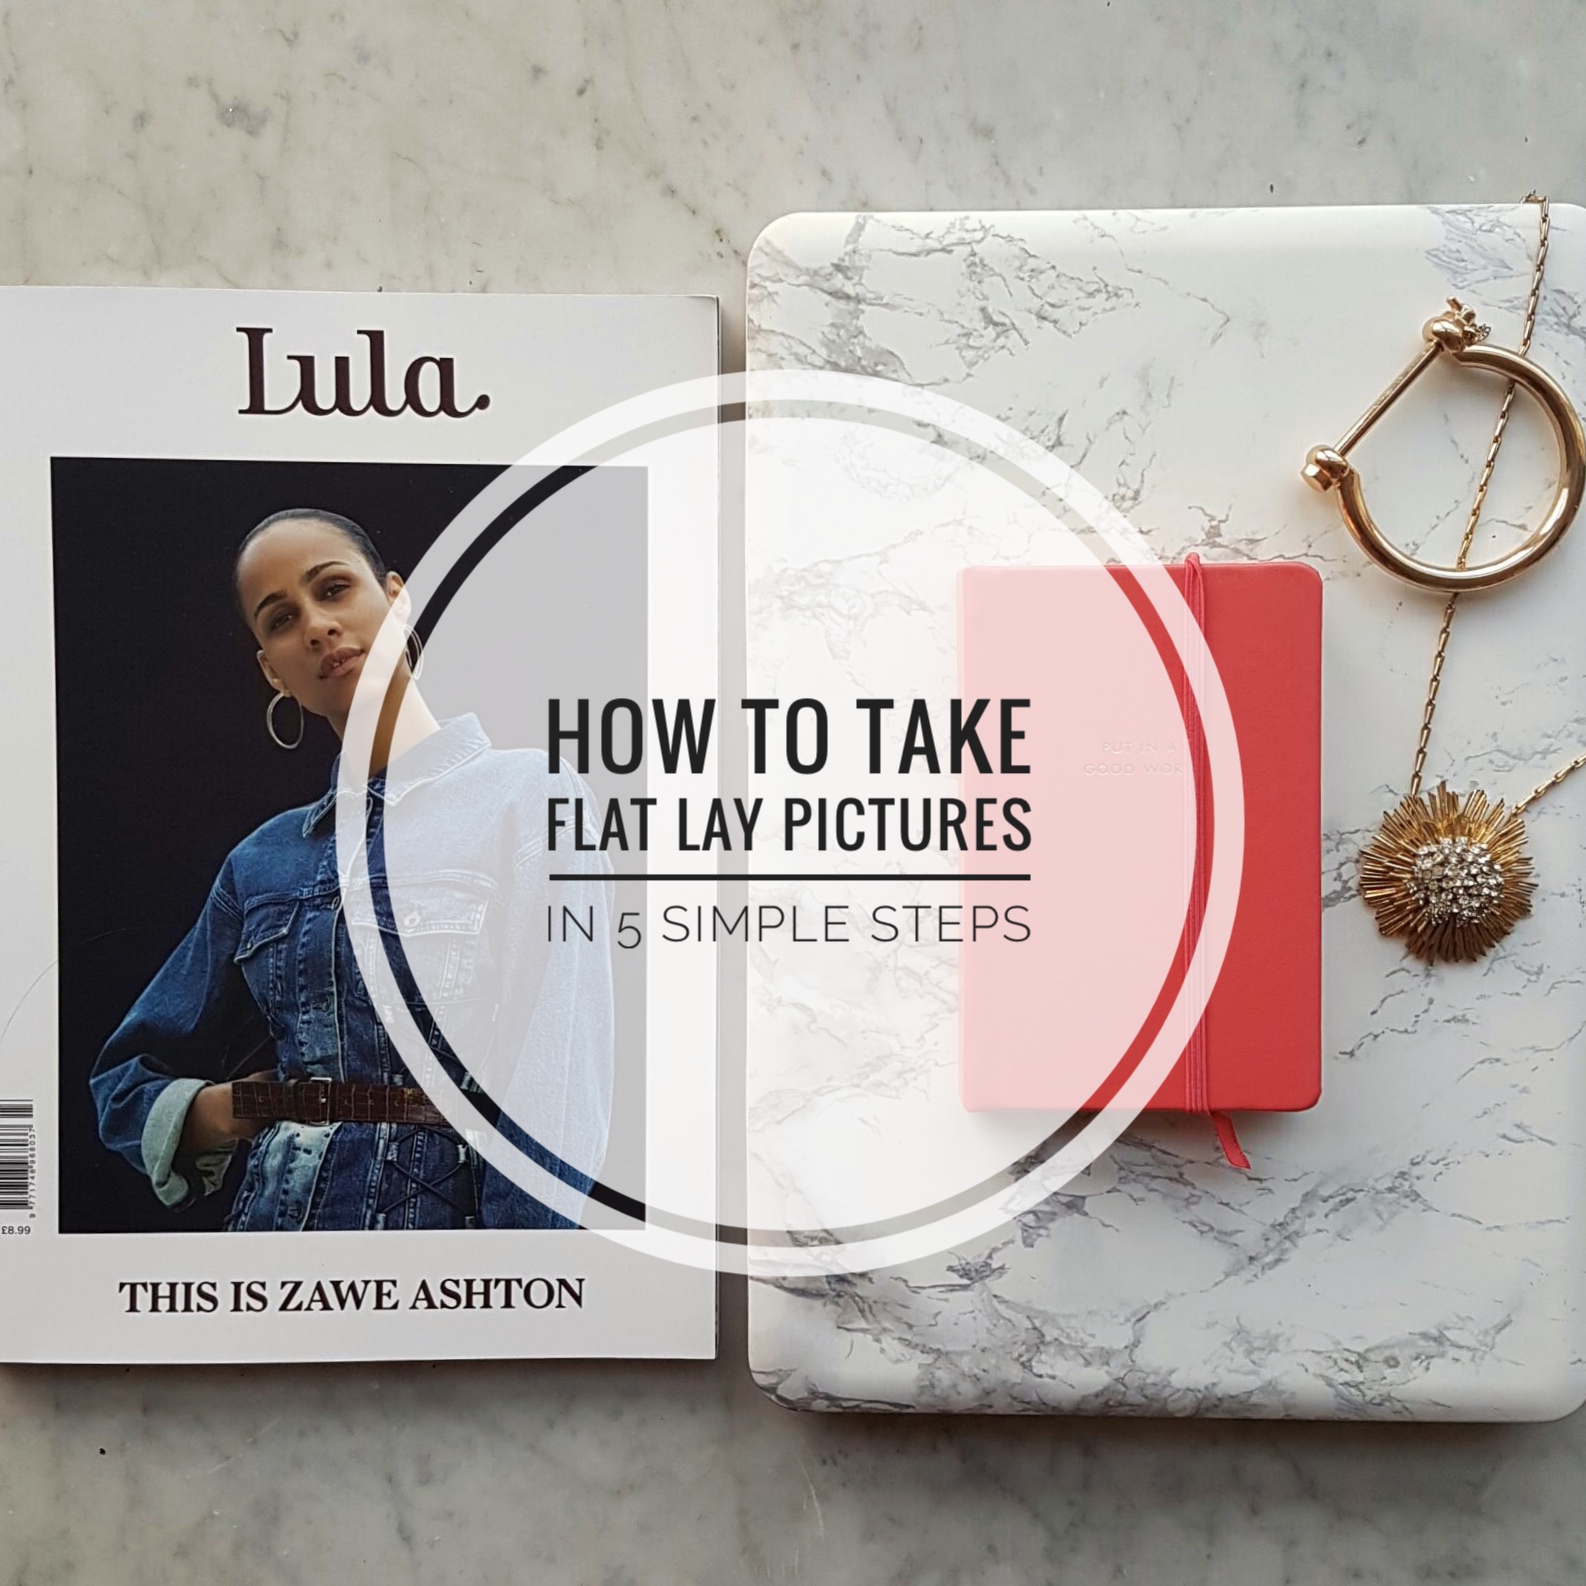
WTF is Flat lay?
Okay what the hell is flat lay? Basically, its a birdseye picture of a bunch of stuff placed on a flat surface. Either placed symmetrically or styled in a way that suggests 'it just fell like that' but lets face it, those pictures are staged because if the contents of my bag just fell out onto a surface it wouldn't be a pretty lipstick on show it would be tampons and fluff!
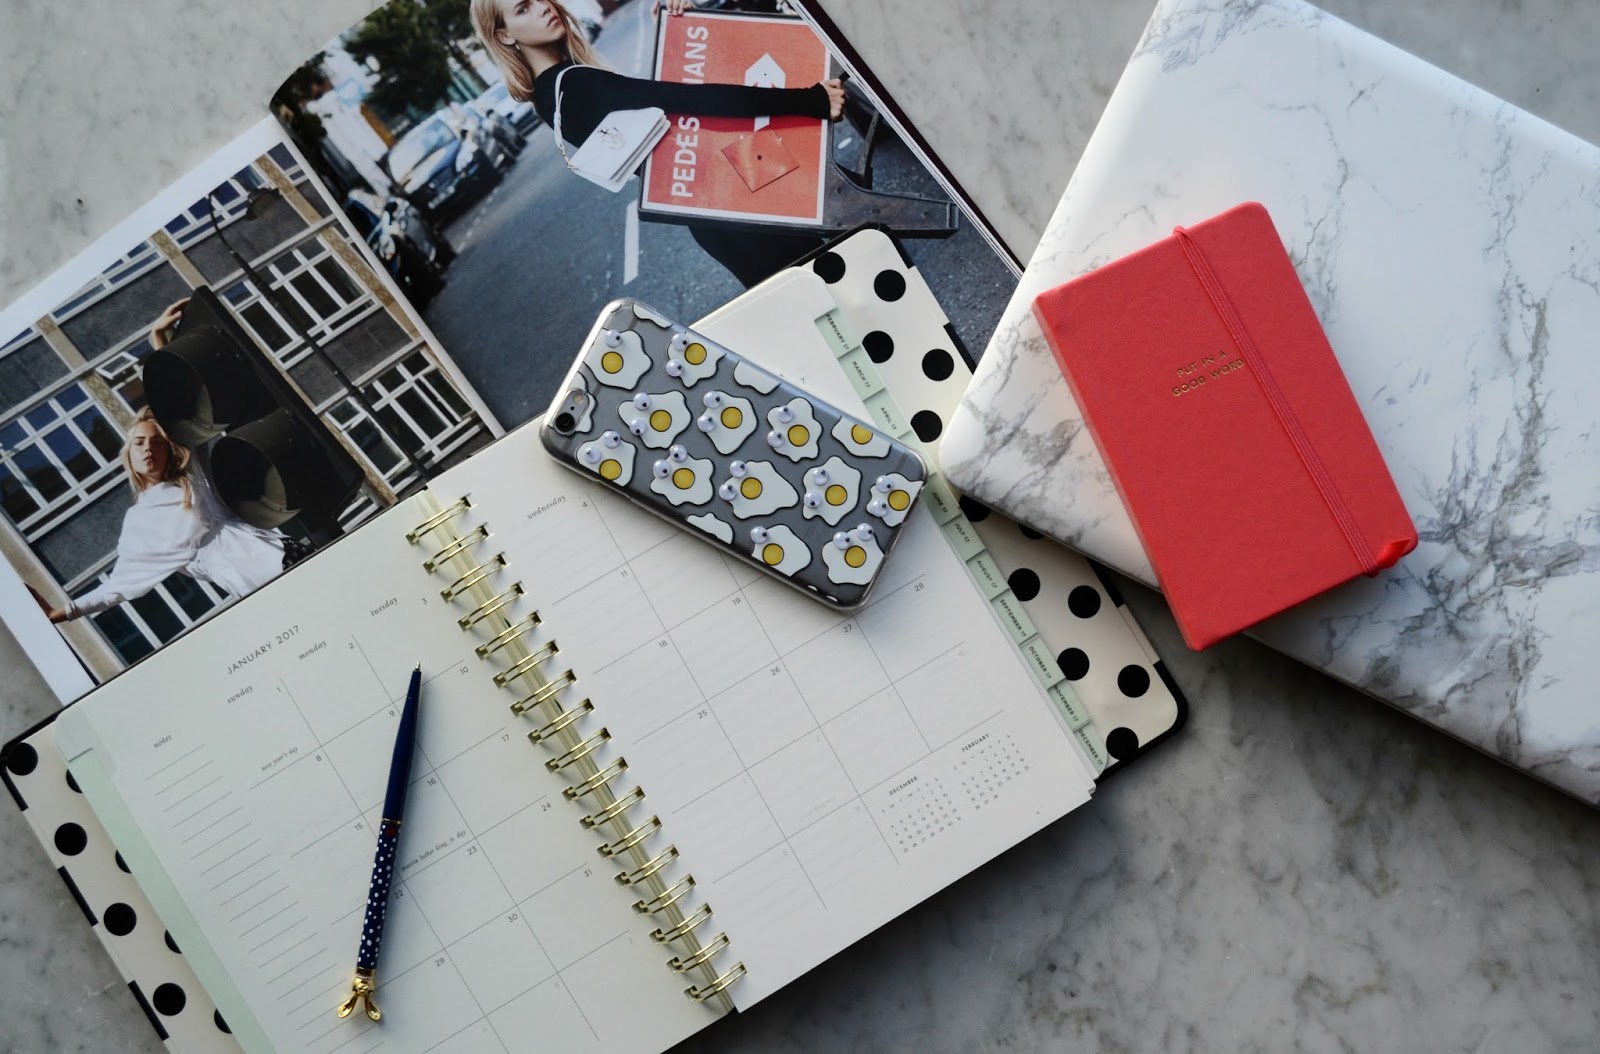
1. Props and Themes
One of the best things about flat lay is there are no rules when it comes to the amount of items you can include or the types of items. However, having said that, random sausage rolls when you are taking pictures of beauty products might look a little odd. For me, I tend to keep the items I picture on topic. For example, if I am shooting a flat lay of an outfit and want to add a little something I might throw in a fashion mag.
With regards to themes I have noticed with a lot of Instagram accounts now that people tend to have themes and the most popular seems to be very minimalistic and monochromatic and I must admit for my taste they are the most visually pleasing. But having said that, it doesn't mean that you have to 'bah' like a sheep and copy. Do your own thang.
2. The Camera and Position
Another great thing about flat lay pictures is you don't need an amazing DSLR to take a great shot, your mobile will do. At the moment my camera depends on where I am going to be uploading the picture. If it's for my blog and because the pictures are bigger a I will use my Nikon D3100, however if its for my social media pages I will always use my phone. Handy tip; make sure you switch the picture size to square so you can upload your pics straight to Instagram without cropping. Now some people have fancy tripods that allow them to go hands free when taking pics or even have cameras that have a flip out screen. I have neither, so don't worry, all I simply do is make sure the items I am picturing are below me. Remember, you are wanting a birdseye picture. If your items are on a table or a bed I try to position myself so I am directly above them. This often means standing on furniture (be safe though people).
3. Surface
Your surface is key to taking flat lay pictures and if your not sure where to start, go basic and plain white. This will also help with lighting but more on this in point 4. At the moment I use a marble table top as my base. If you want to create a marble surface or a cool background then a great tip I picked up is using wallpaper, or even better, if you go to a DIY shop you can usually grab a tester strip for free. Obviously, if you're going to be using a large surface area and putting lots of props then maybe buy the roll.
4. Lighting
One of the best tips I have ever read, and this goes for most things wether its filming a Youtube video or taking an outfit pic inside, natural light is always king and although I do have studio lighting I have stopped using this for my flatlay pictures. One of the main reasons is the light often feels too harsh. Natural light adds a softness. To achieve this all I simply do is move my desired surface next to a window. Having said all this, if you cannot do that don't be scared of using your flash and there is always editing and this leads nicely onto tip 5.
5. Editing
When it comes to editing your pictures there is enough out there to keep you busy for days. Personally, I mainly use free websites and apps. If I am using my laptop to edit my flat lay pictures I almost always use picmonkey.com or Pixlr.com both are free. Obviously you can pay and use the upgraded versions but the free one's have been doing just the job for me. When it comes to mobile editing apps the world is your oyster. My current favs are: Afterlight, Pic Lab and Snapseed.
When it comes to editing your pictures there is enough out there to keep you busy for days. Personally, I mainly use free websites and apps. If I am using my laptop to edit my flat lay pictures I almost always use picmonkey.com or Pixlr.com both are free. Obviously you can pay and use the upgraded versions but the free one's have been doing just the job for me. When it comes to mobile editing apps the world is your oyster. My current favs are: Afterlight, Pic Lab and Snapseed.
Right, now your ready to get snapping your random bits of stuff on flat surfaces. There really is no right or wrong way and probably the best tip I can give you is; get started, have a play around with it and find out what works for you.
Hollie x
P.s Let me know if you enjoy this post and I will try to do more post about blogging in the future.
No comments
Post a Comment